Datasheet Summary
..
HOW TO REPLACE YOUR PS2 KHS-400C LASER
(FOR VERSIONS 5
- 11) ww w.D a taS hee t4U .co m
..
Table of Contents Table of Contents 2 REMENDED TOOLS 3 BEFORE YOU BEGIN 4 Disassemble Your PS2 5 Laser Installation 11 Adjusting Your Laser 17 ww w.D a taS hee t4U .co m
..
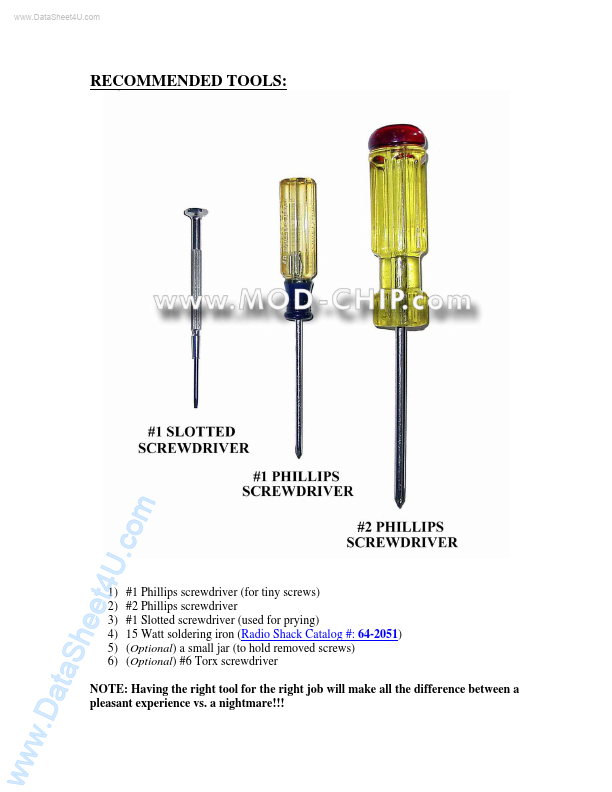
REMENDED TOOLS:
4U ata w.D
1) 2) 3) 4) 5) 6) ww
Sh eet
NOTE: Having the right tool for the right job will make all the difference between a pleasant experience vs. a nightmare!!!
.co
#1 Phillips screwdriver (for tiny screws) #2 Phillips screwdriver #1 Slotted screwdriver (used for prying) 15 Watt soldering iron (Radio Shack Catalog #: 64-2051)...