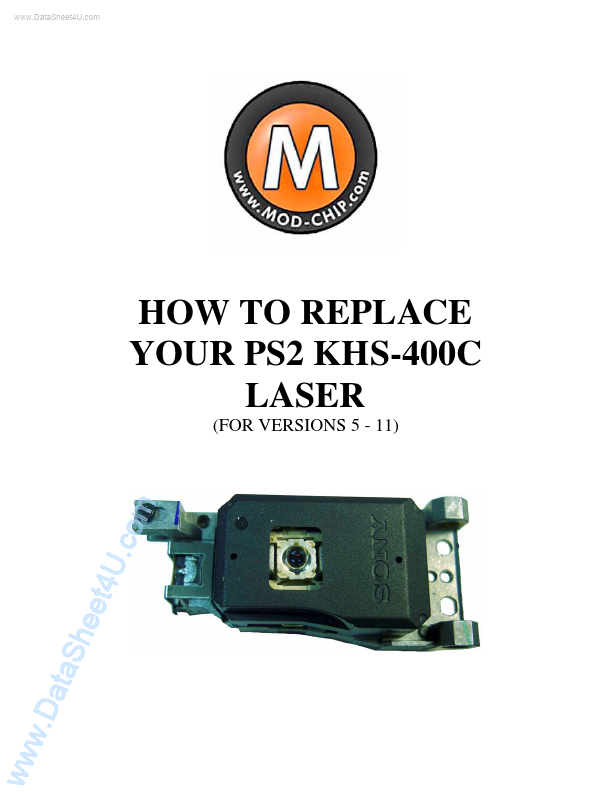
KHS-400C
KHS-400C is PS2 Laser manufactured by Unknown Manufacturer.
..
HOW TO REPLACE YOUR PS2 KHS-400C LASER
(FOR VERSIONS 5
- 11) ww w.D a ta S hee t4U .co m
..
Table of Contents Table of Contents 2 REMENDED TOOLS 3 BEFORE YOU BEGIN 4 Disassemble Your PS2 5 Laser Installation 11 Adjusting Your Laser 17 ww w.D a ta S hee t4U .co m
..
REMENDED TOOLS:
4U ata w.D
1) 2) 3) 4) 5) 6) ww
Sh eet
NOTE: Having the right tool for the right job will make all the difference between a pleasant experience vs. a nightmare!!!
.co
#1 Phillips screwdriver (for tiny screws) #2 Phillips screwdriver #1 Slotted screwdriver (used for prying) 15 Watt soldering iron (Radio Shack Catalog #: 64-2051) (Optional) a small jar (to hold removed screws) (Optional) #6 Torx screwdriver m
..
BEFORE YOU BEGIN:
Make sure you are grounded before you begin disassembling your PS2 either by a grounding strap (Radio Shack Catalog #: 276-2370) or by touching something metal. Make sure that you are working on a non-conductive surface (i.e. wood, glass…etc.). Before disassembling your PS2 console, you first need to break the factory Sony seal. You do this by using a #1 slotted screwdriver or knife as shown below in figure #1. NOTE: ALL TEXT IN BLUE IN THIS DOCUMENT ARE URL LINKS FOR YOUR REVIEW!!!
FIGURE #1 NOTE: Once the Sony seal is broken, you void any warranties guaranteed by Sony!!! Turn over your PS2 console and gently pry each of the square covers with the #1 slotted screwdriver to reveal the screw heads below as shown in figure #2. ww w.D ata Sh eet 4U .co m
FIGURE #2
..
DISASSEMBLE YOUR PS2:
Pay attention to which cover is rubber and which are made of plastic. Remove the screws and note that the longer screws belong in the left four openings as shown below in figure #3.
FIGURE #3 ww w.D a ta S hee t4U .co m
Turn over the PS2 console and remove the top cover by lifting on the back a little and gently pushing the top cover towards the front (to clear the DVD player) and then by lifting upwards (see figure #4 below)
..
FIGURE #4 Remove the...